Stained Glass Production

Carl Huneke’s steps in the production of stained glass windows
Designing
The making of the design comes first.
It is a small scale study of the window, intended to convey an impression of the full-sized window.

Cartooning

A template is produced after taking measurements of the actual window openings. The template is a pattern, usually on heavy paper, of the actual size of the space to be filled with glass. A full-sized drawing, called a “cartoon” is prepared next, generally in black and white.
From the cartoon, cutline and pattern drawings are made. The lead-lines are the outlines of the shapes for patterns to with the glass is to be cut. This drawings serves as a guide or reference for the subsequent placing and binding with lead of the many pieces of glass.
Patterning
The pattern drawing is a carbon copy of the cutline drawing. It is cut along the black or lead-lines with double-bladed scissors, which, as it cuts, simultaneously cuts away a narrow strip of paper, thus allowing sufficient space between pieces of glass for the core of the grooved lead.
This core is the supporting wall between the upper and lower flanges of the lead, which is like the letter “H” lying on its side.

Cutting

The glass is then selected from the large stock always kept on hand. The glass cutter places the pattern on a piece of the desired color and with a diamond or steel wheel, cuts the glass to the shape of the pattern.
Painting
After the glass has been cut, the painter takes over. On each piece of glass, he paints the main outlines of the cartoon with vitrifiable paint. Vitrifiable paint converts into glass by heat and fusion. Further patterning is applied in halftone mattes to control the light and bring all the colors into closer harmony.
Much of this painting is done while the glass is up in the light, held in place on a plate glass easel by means of beeswax. In this way, the painter approximates the conditions in which the window will eventually be seen.

Firing

These painted pieces are fired in the kiln at least once and perhaps several times to fuse the paint and glass.
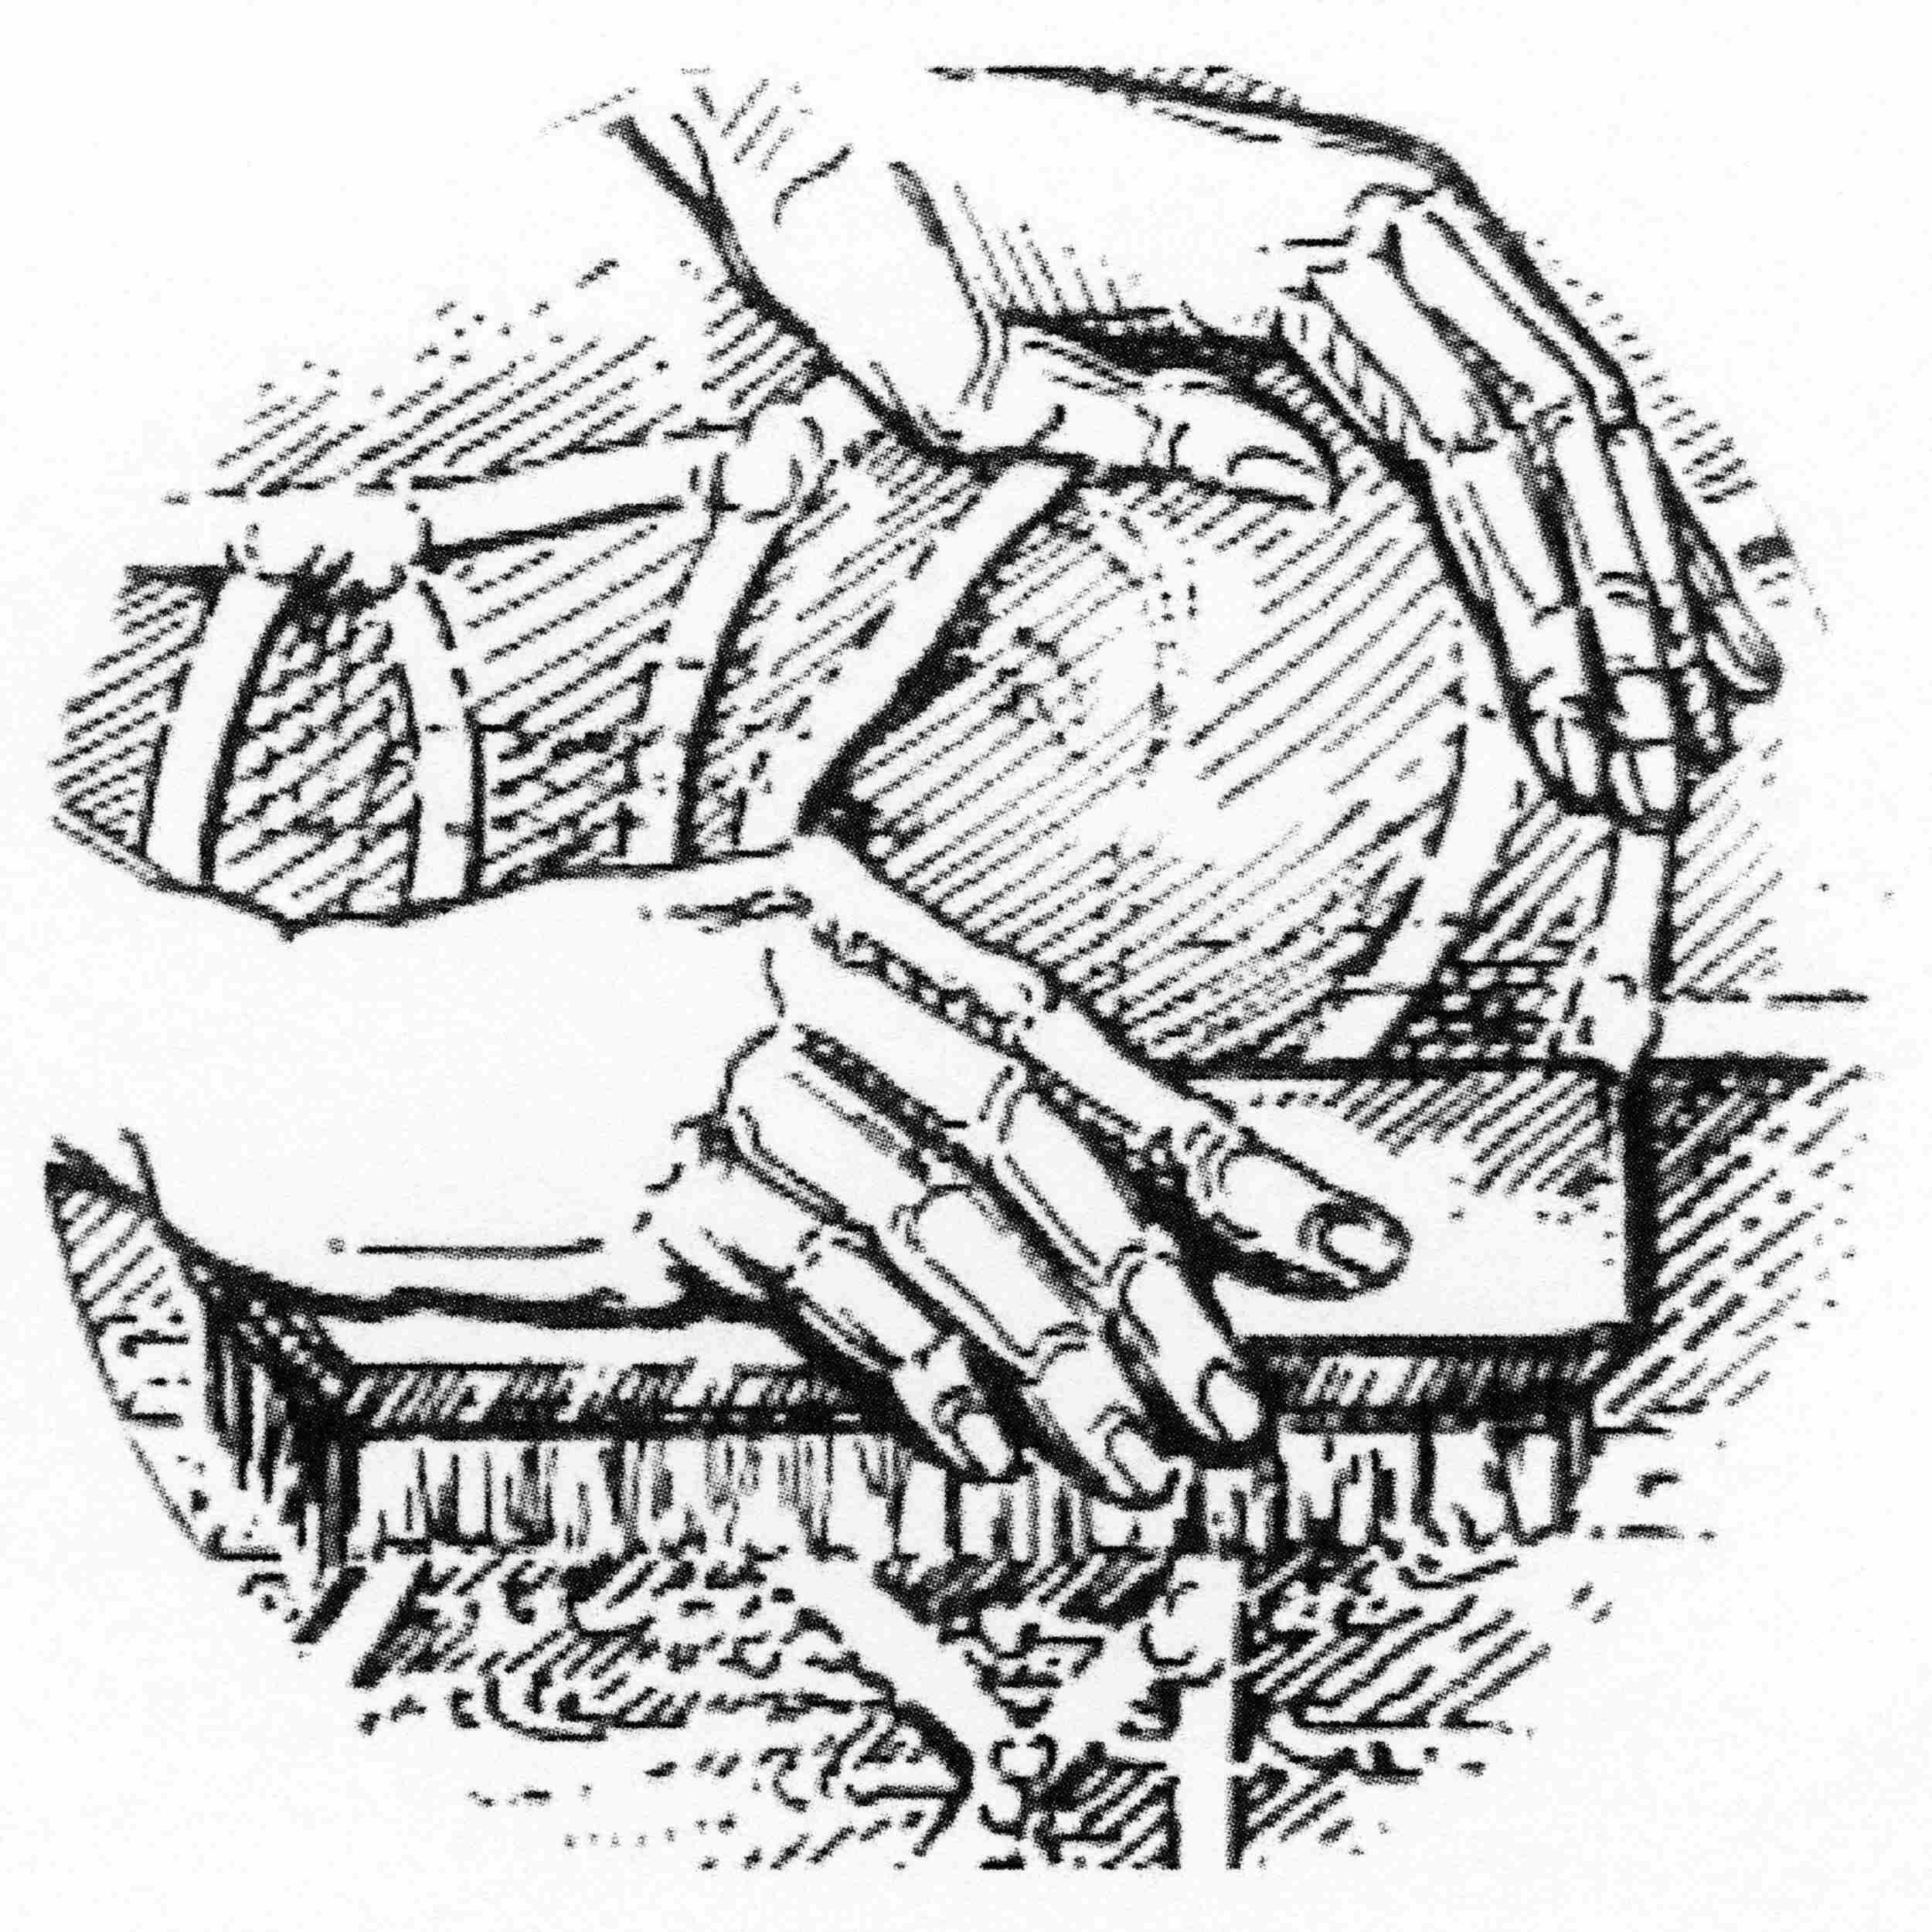
Glazing
The glass is now ready for the glazier. The cutline drawing is spread on the glazier’s bench and laths are nailed down along two edges of the drawing to form a right angle. Long strips of wide lead are placed along the inside of the laths. The piece of glass belonging in the angle is fitted into the grooved lead. A strip of narrow lead is fitted around the exposed edge or edges. The Next required segment is slipped into the groove on the other side of the narrow lead.
This is continued until each piece has been inserted into the leads in its proper place according to the outline drawing beneath.

Soldering

The many joints formed by the lead are soldered.
Cementing
The entire window is cemented with putty on both sides to make it firm and watertight. The window is made in sections of a size convenient for one man to handle.
After the completed window has been thoroughly inspected in the light, the sections are packed and shipped to their destination, where they are installed and secured with reinforcing bars.